
TUTORIALS & FAQS
Adams Bank & Trust is here to answer your banking questions and make staying on top of your finances simple. Below are answers to common questions and guides for utilizing our digital banking services.

Quick, easy-to-follow videos and click-thru demos designed to guide you through our most popular banking services.
FORMS & DOCUMENTS
Business Switch Kit: Download Here
Personal Switch Kit: Download Here
ROUTING & ACCOUNT NUMBERS
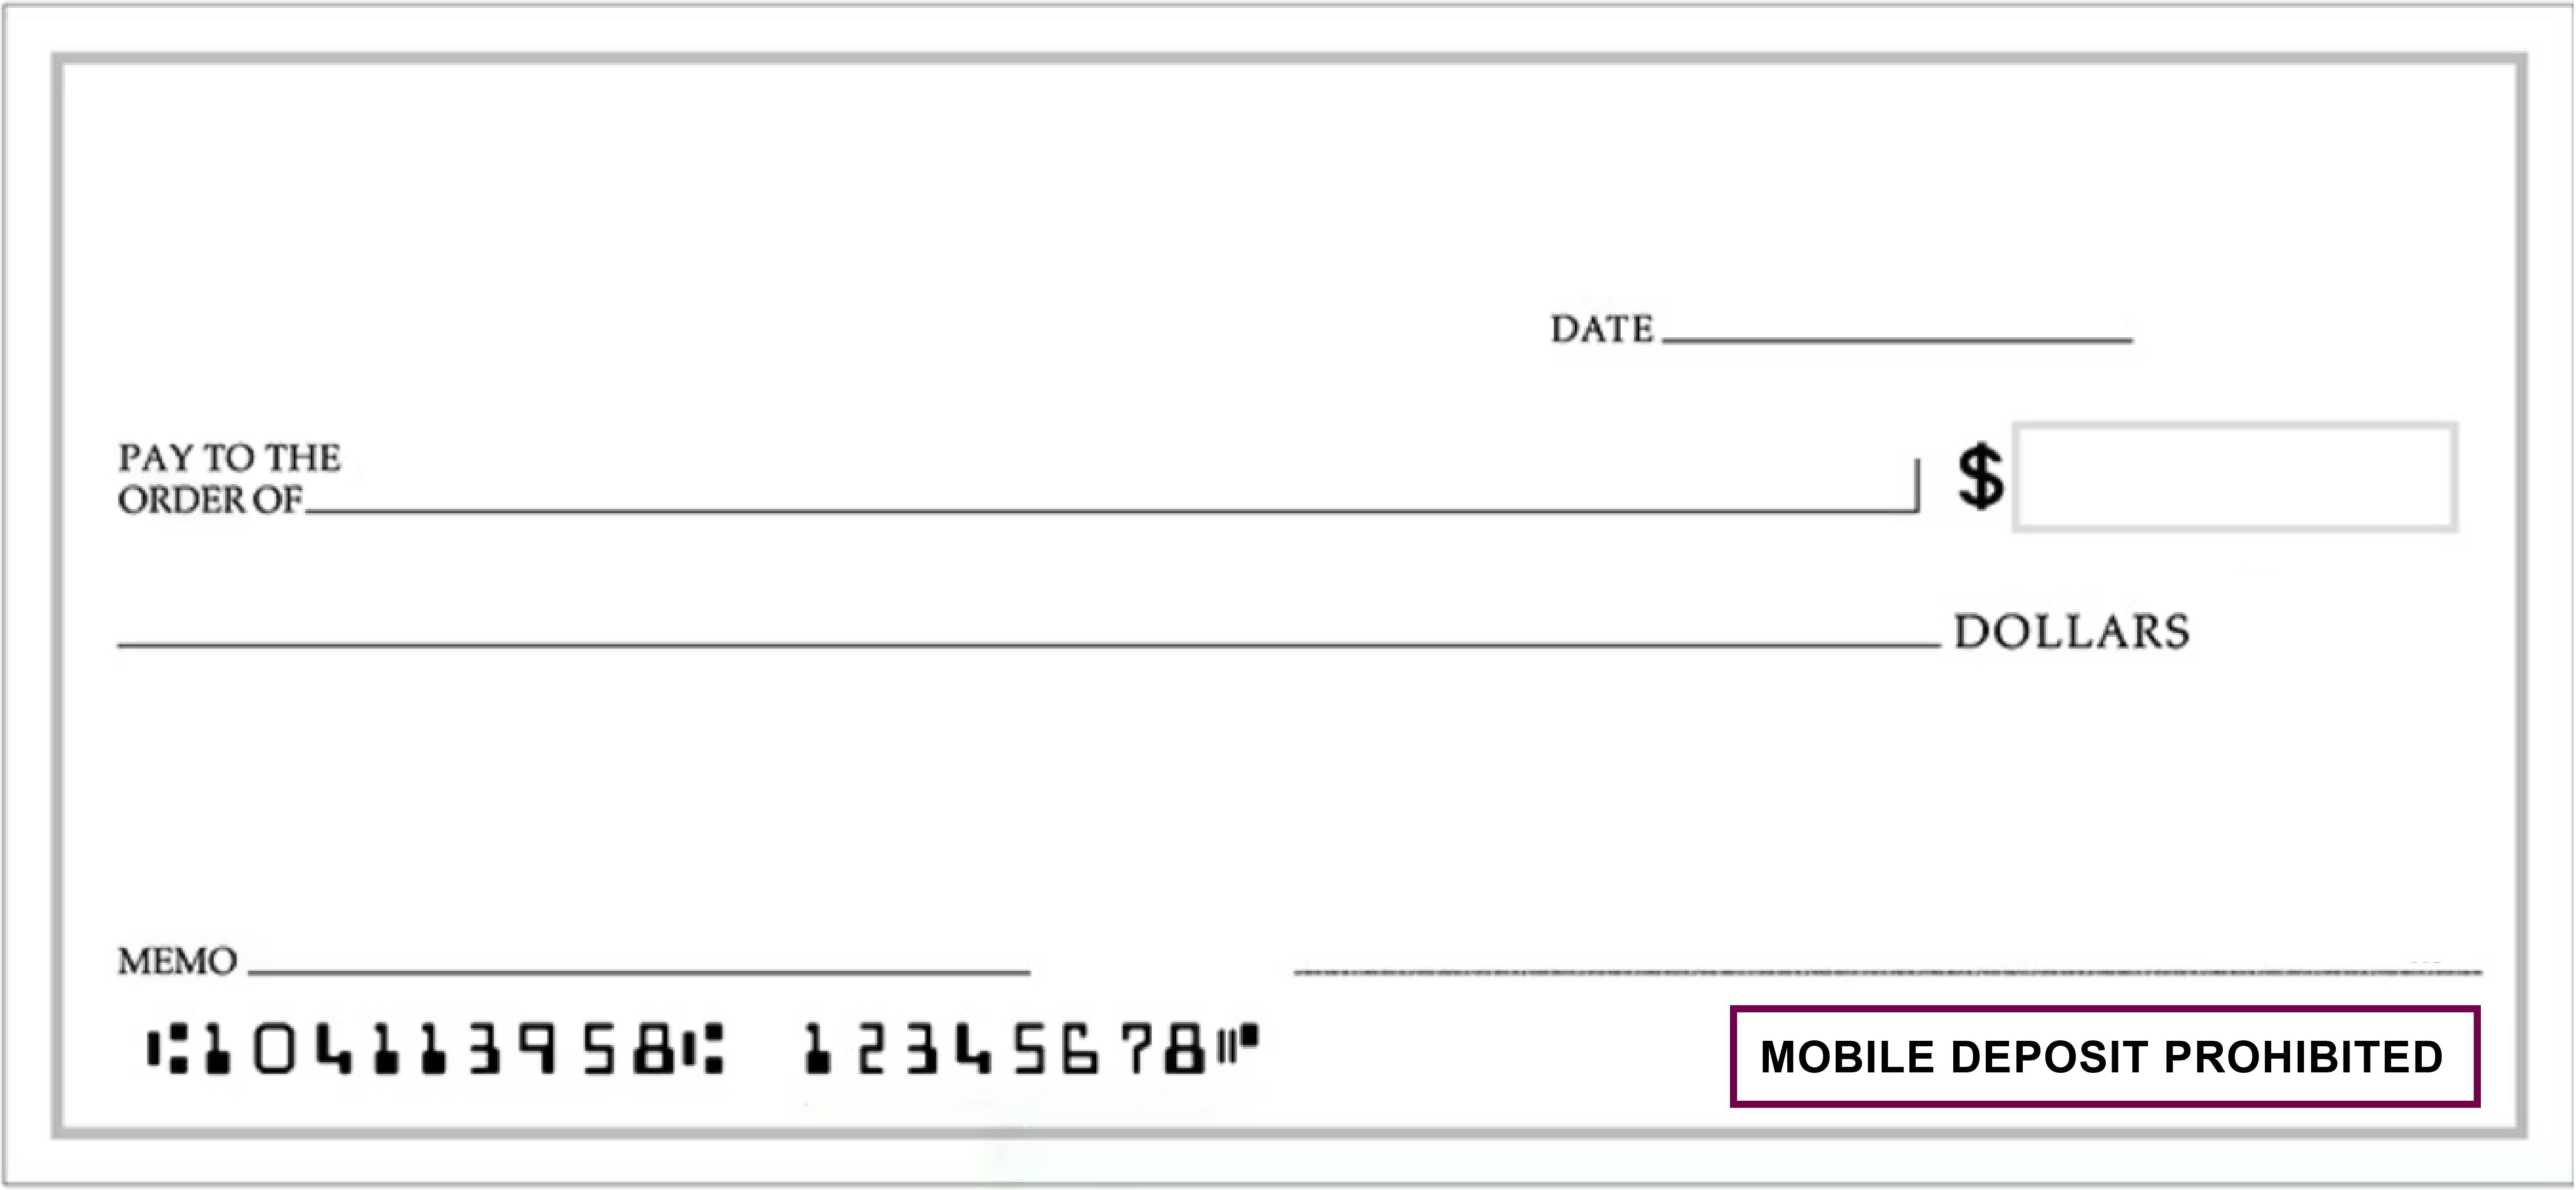
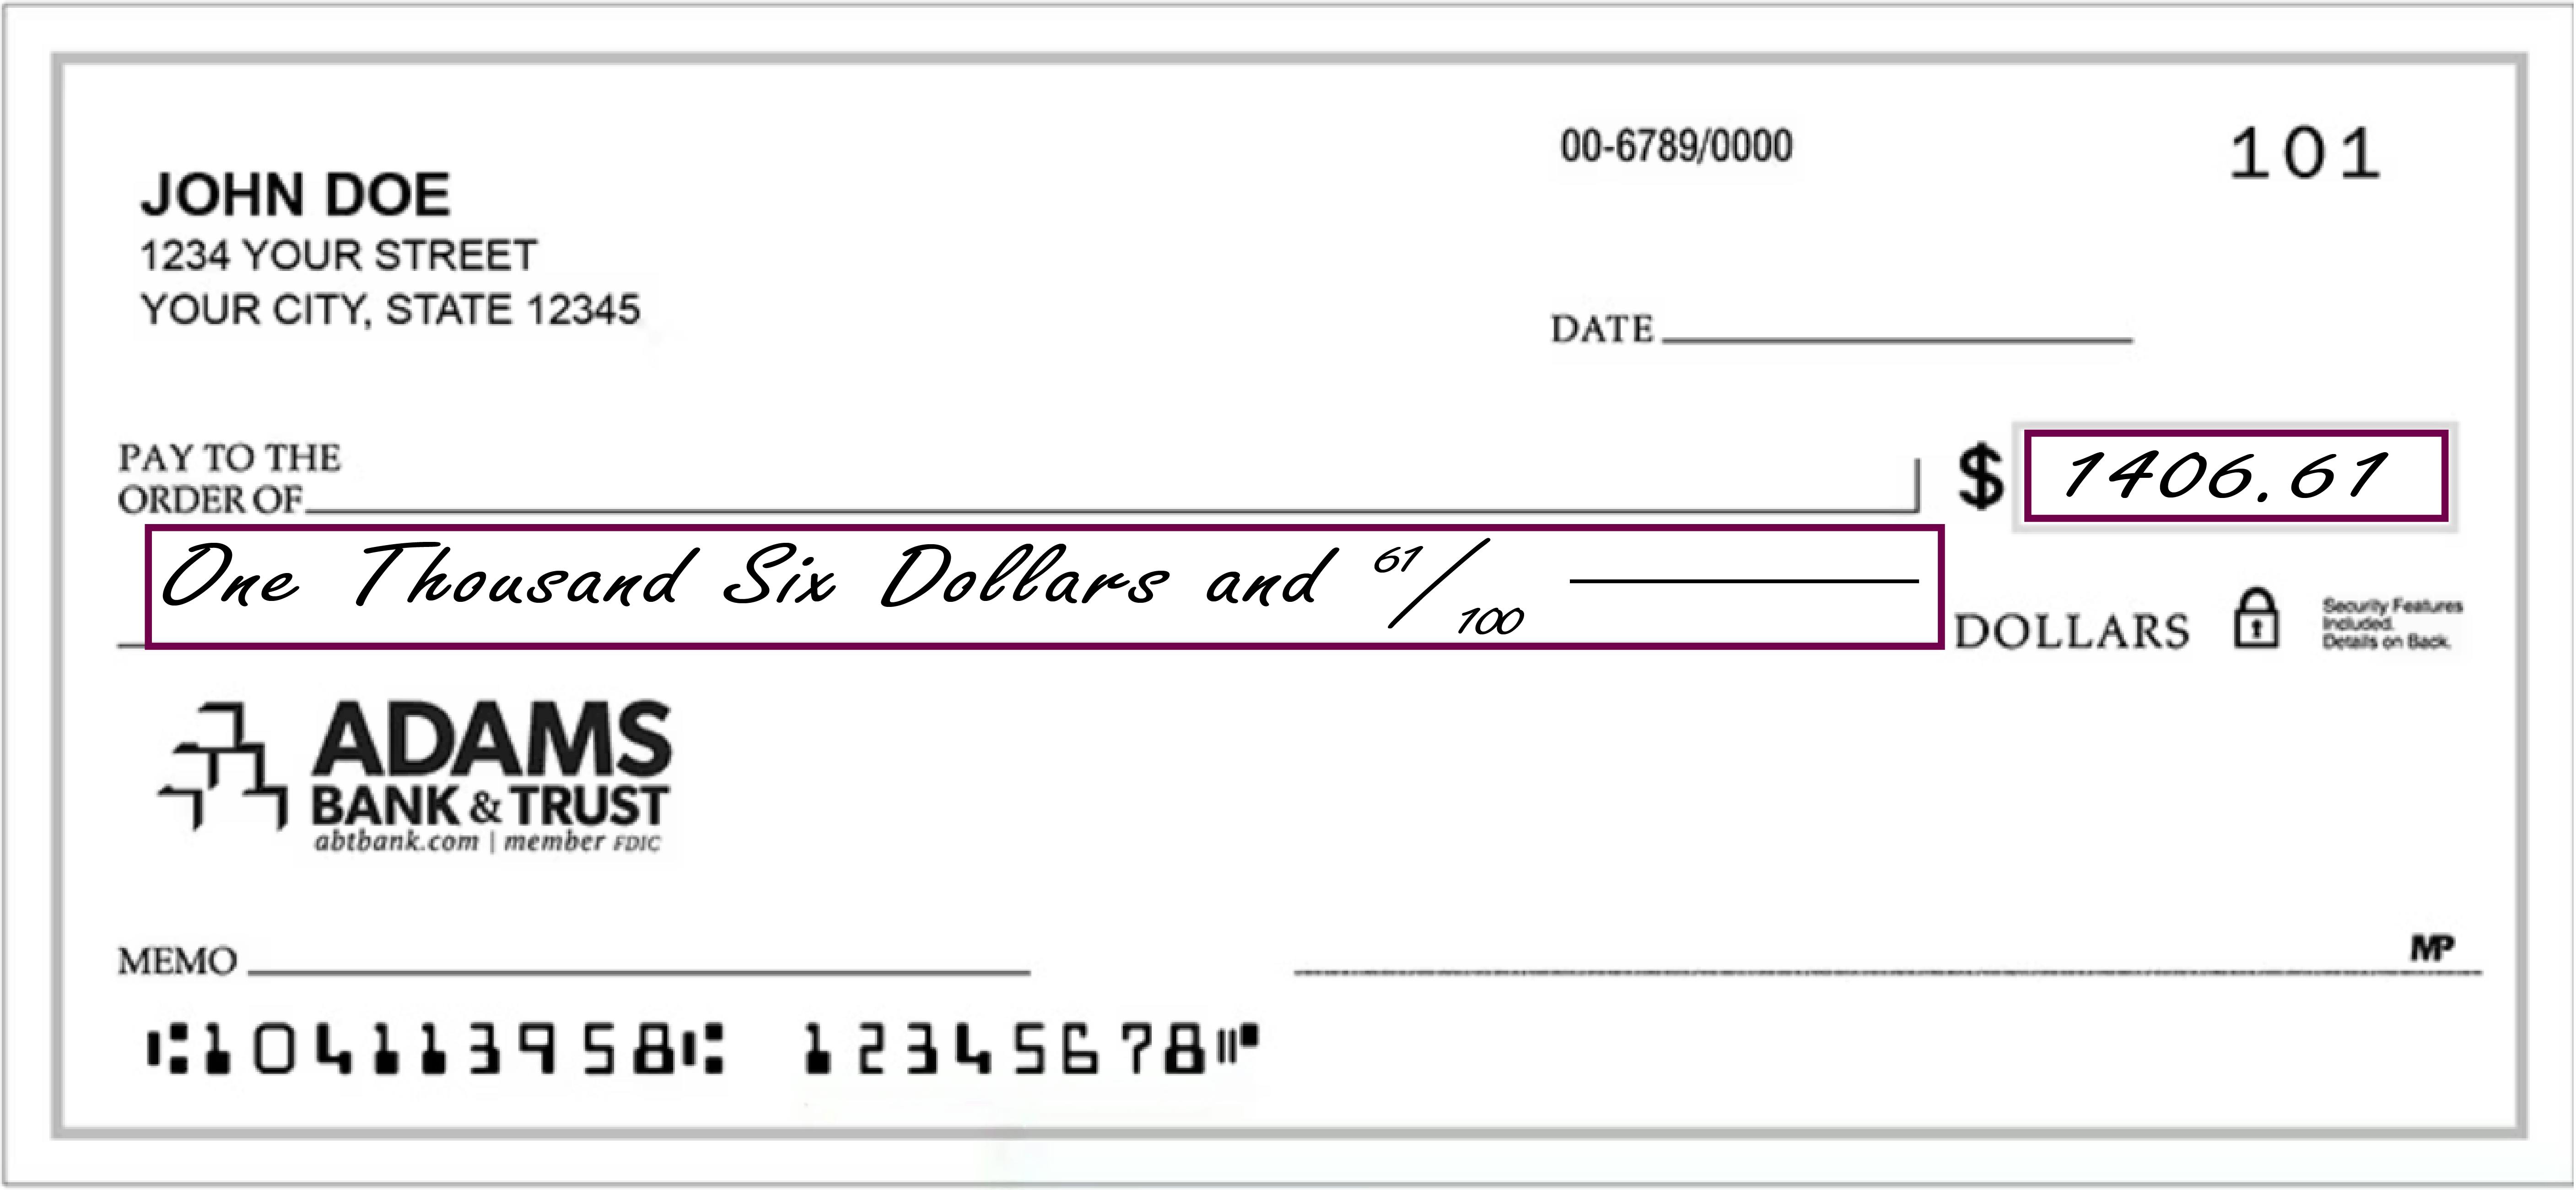
Adams Bank & Trust's routing number is 104113958.
LOCATE YOUR ACCOUNT NUMBER IN THE AB&T MOBILE APP
- Log in to the AB&T mobile app.
- Select the desired account.
- At the top of the screen, tap the eye icon next to the last four digits of your account number. This will allow you to view your full account number.
LOCATE YOUR ACCOUNT NUMBER ON YOUR AB&T CHECKS
You can also find your full account number at the bottom of your AB&T checks.

ONLINE & MOBILE BANKING
To set up your online banking account you will need your social security number, email address, AB&T account number and type, and your PIN/EBB.
- Go to abtbank.com and click Login > Personal Banking Login at the top right.
- Click Enroll Now.
- Agree to the Terms & Conditions.
- Enter the requested information.
- Choose a Username & Password, then click Continue.
- Verify your email address.
- Set up 3 challenge questions and click Continue.
To set up your mobile banking account you will need your social security number, email address, AB&T account number and type, and your PIN/EBB.
- Install the AB&T app from the App Store or Google Pay.
- Click Enroll Now.
- Agree to the Terms & Conditions.
- Enter the requested information.
- Choose a Username & Password, then click Continue.
- Verify your email address.
- Set up 3 challenge questions and click Continue.
UNACCEPTABLE ITEMS FOR MOBILE DEPOSIT
Two-Party Checks: Checks written to two individuals or entities, typically with both names on the "Pay to the Order of" line.
Traveler’s Checks: Secure, prepaid forms of money, similar to cash, used when traveling, especially internationally.
Foreign Checks: Checks, money orders, or bank drafts drawn on a bank located outside the US.
Savings Bonds: Debt securities issued by the U.S. Department of the Treasury, allowing individuals to lend money to the government and earn interest in return.
Lien Waiver Checks: Checks accompanied by a lien waiver, a document signed by a contractor, subcontractor, or supplier, waiving their right to file a lien on that specific amount.
Image Replacement Documents (IRDs): Negotiable instruments that are digital reproductions of original paper checks.
HOW TO NAVIGATE MOBILE DEPOSITS IN THE APP
1.Log into the App: After logging in, you will see several tabs at the bottom of your screen: Accounts, Cards, Transfer & Pay, Deposit, More. Click on the Deposit tab.
2.Deposit Options: You will have two options:
a.Deposit a Check: Select the account for the deposit and enter the check amount. Take pictures of the front and back of the check on a solid dark surface for best imaging.
b.View Mobile Deposit History: Check the status of your deposit under Accepted, Rejected, or Failed tabs.
3.Resubmitting Deposits: If your deposit does not appear in any tabs, it may need to be resubmitted. Retake the images and fill in the information again.
MOBILE DEPOSIT STATUS RESPONSES
· Accepted: The deposit has been approved and will be processed according to schedule. Do not redeposit this item.
· Pending: The deposit is awaiting further review. It may be moved to Accepted or Rejected status. If rejected, an email will be sent explaining the reason.
· Failed: The deposit was automatically rejected or rejected by the review team. An email will be sent explaining the rejection and steps to take.
REASONS FOR REJECTED DEPOSITS
Depositing a Check into the Same Account
· Issue: The customer is attempting to deposit a check into the account from which it was issued.
· Solution: Ensure the check is deposited into a different account.
Unclear Check Image
· Issue: The check image was not captured clearly.
· Solution:
-Flatten the check if it is folded or crumpled.
-Keep the check within the corner guidelines of the app.
-Ensure all numbers at the bottom of the check and the endorsement on the back are readable.
-Keep the phone flat and steady, holding the camera square to reduce skewing.
-Take photos in a well-lit area and avoid shadows across the check.
-Place the check on a solid dark background before taking the image.
Account Ownership
· Issue: The payee(s) must be an owner on the account it is being deposited into. Checks payable to a business and deposited into an individual account will be rejected.
· Solution: Ensure the check is deposited into an account owned by the payee(s) listed on the check.
Post-Dated Checks
· Issue: The check is dated for a future date.
· Solution: Deposit the check only on or after the date written on the check.
Unacceptable Item
· Issue: The check is payable to a business but endorsed by an individual.
· Solution: Ensure the check is endorsed with the business/entity name as written on the front of the check and deposited into an account owned by that entity/business.
Stale-Dated Item
· Issue: The check is more than 180 days old, unless a different time frame is listed on the check.
· Solution: Check for any specific time frame mentioned on the check (e.g., "Void after one year") and ensure the check is deposited within that period.
Examples
· Example 1: A check dated January 1st, 2024, being submitted for deposit on November 1st, 2024, is stale-dated and will be rejected unless it specifies a different valid period.
· Example 2: Money orders that state "Mobile deposit prohibited" will be rejected.
Money orders that state 'Mobile deposit prohibited'
Numeric/Written Amount Mismatch
· Issue: The numeric line and written (legal) line do not match.
· Solution: Verify that the numeric amount and the written amount on the check are identical.
SET UP ADAMSALERTS ON MOBILE
- Log in to the Adams Bank & Trust App.
- Tap Manage Alerts under Quick Links on the Accounts page.
- Toggle the switch to enable push notifications. The toggle will turn green and a menu of account settings will appear below. You may be asked to confirm that you would like to enable push notifications or to give the AB&T app permission to send push notifications in Settings. Tap Allow or update your settings to enable notifications.
- You are now enrolled in Alerts! To create your first alert, select from the options available under Live Updates. You can return to this screen anytime to adjust your alerts, view your alert history, and update your alert contact preferences. Read our Alerts page for more information about managing alerts.
SET UP ALERTS ON A DESKTOP
- Log in to your Adams Bank & Trust online banking account.
- Click Enroll under Alerts.
- Enter your email address and mobile phone number. This is where you will receive email and text notifications. Click Next.
- You are now enrolled in Alerts! To create your first alert, select from the options available under Alert Options. You can return to this screen anytime by clicking the Alerts button in the top right corner. On the Alerts page you can adjust your alerts, view your alert history, and update your alert contact preferences. Read our Alerts page for more information about managing alerts.
E-STATEMENTS
- Log in to your AB&T online banking account.
- Click Profile in the upper right corner.
- Click Edit next to Electronic Statements.
- Find the account you would like to enroll. Select eStatements under Delivery Method.
- Click to confirm that you have read and accept the Terms & Conditions.
- Click Save.
TRAVEL NOTICES
- Log in to the AB&T mobile app.
- Tap Cards.
- Find the appropriate card for your travel notice. You can toggle between cards by swiping left on the image of your card at the top of the screen. If you will be using multiple AB&T cards while traveling, you will need to submit a travel notice for each card.
- Go to Manage Card and select Manage Travel Plans.
- Tap the + next to Add Travel Plans. Before proceeding, the app will require you to verify a security token sent to the cell phone number or email address that you have on file.
- Enter your destinations and dates of travel. You can submit up to 15 domestic or international destinations. Remember to include all destinations where you may use your card such as the cities where you have layovers or the places you may stop for gas.
- Tap Submit.
- You will receive an email confirmation that we have updated your card(s) with your travel plans.
Call us at 800.422.3488 or visit your local branch to submit a travel notice. We'll need to know the dates you are traveling and the destinations you will be visiting. Travel notices can take up to 24 hours to be added to your account, so be sure to reach out ahead of your departure.


